
How to use a laser level
2024-11-06
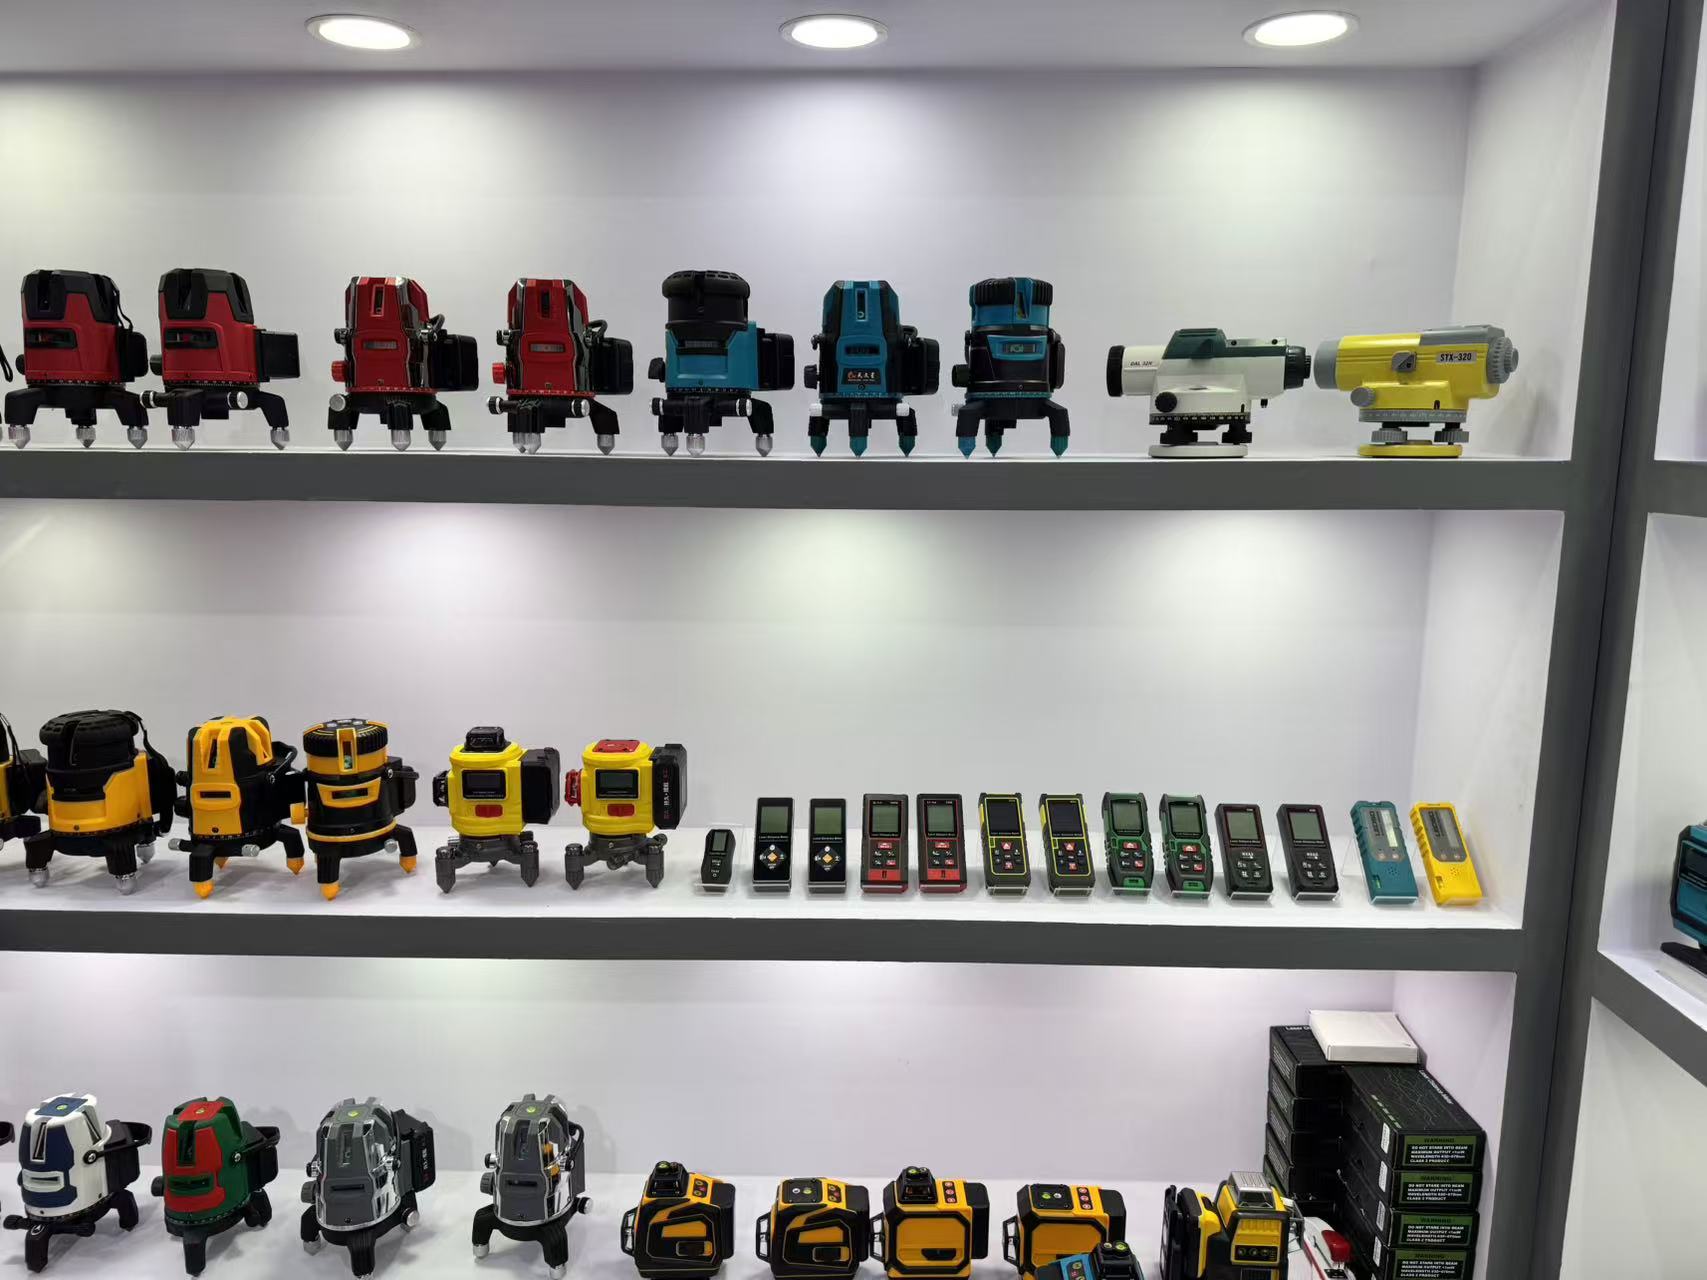
How to use a laser level
Basic steps:
Place the instrument: Place the instrument on a reference plane or tripod to ensure stability.
Adjust the instrument: After powering on, if the laser flashes and an alarm sounds, adjust the instrument placement position or fine-tune the tripod to make the instrument placement surface level.
Power on: Turn the switch to the ON position and turn on the power. At this time, the horizontal laser line and the vertical laser line will light up and be projected on the target.
Adjust the laser line: Rotate the instrument in the horizontal direction so that the vertical laser line falls at the desired position.
Power off: After the operation is completed, turn the knob switch to the OFF position and turn off the power.
Detailed steps
Place the instrument: Fix the instrument on a specific instrument bracket or place it on a stable platform. By adjusting the height of the adjusting foot, make the instrument placement angle within the leveling range.
Power on: Press the ON button on the control panel. After the instrument is turned on, the green indicator light flashes, indicating that the instrument is leveling. Until the green indicator light stops flashing, it means that the instrument has been leveled.
Adjust the laser line : Press the H and V keys on the control panel to cycle through two vertical lines, four vertical lines, and all four vertical lines off.
Turn off the instrument : After the operation is completed, press the OFF key on the control panel to turn off the instrument and remove the battery to prevent battery leakage and damage to the instrument due to long-term non-use.
Basic steps:
Place the instrument: Place the instrument on a reference plane or tripod to ensure stability.
Adjust the instrument: After powering on, if the laser flashes and an alarm sounds, adjust the instrument placement position or fine-tune the tripod to make the instrument placement surface level.
Power on: Turn the switch to the ON position and turn on the power. At this time, the horizontal laser line and the vertical laser line will light up and be projected on the target.
Adjust the laser line: Rotate the instrument in the horizontal direction so that the vertical laser line falls at the desired position.
Power off: After the operation is completed, turn the knob switch to the OFF position and turn off the power.
Detailed steps
Place the instrument: Fix the instrument on a specific instrument bracket or place it on a stable platform. By adjusting the height of the adjusting foot, make the instrument placement angle within the leveling range.
Power on: Press the ON button on the control panel. After the instrument is turned on, the green indicator light flashes, indicating that the instrument is leveling. Until the green indicator light stops flashing, it means that the instrument has been leveled.
Adjust the laser line : Press the H and V keys on the control panel to cycle through two vertical lines, four vertical lines, and all four vertical lines off.
Turn off the instrument : After the operation is completed, press the OFF key on the control panel to turn off the instrument and remove the battery to prevent battery leakage and damage to the instrument due to long-term non-use.
Factory direct supply, quality assurance, laser level appeared at the Canton Fair!
Related Article

Shandong Tianwen Building Materials will attend the 75th China Autumn National Hardware Fair in Linyi from September 5-7, 2026. Visit booth A902-A903 to see our Tianwenxing laser level tools and discuss OEM, ODM and bulk orders.
Exhibition News | Tianwen Building Materials at the 75th China Autumn National Hardware Fair

We will showcase the latest laser level and measurement solutions at the 6th Guangzhou Procurement and Trade Fair.
BUBIAO Laser level Manufacturer to THE 6th GUANGZHOU SOURCING FAIR

LUBIAO Laser Tools will showcase its full range of laser levels and new industrial designs at the Indonesia Construction Expo on December 3. This article provides an in-depth preview.
LUBIAO Laser Tools to Exhibit at Indonesia International Construction Expo on December 3 — Full Product Line Preview